3D Printed Pi Case
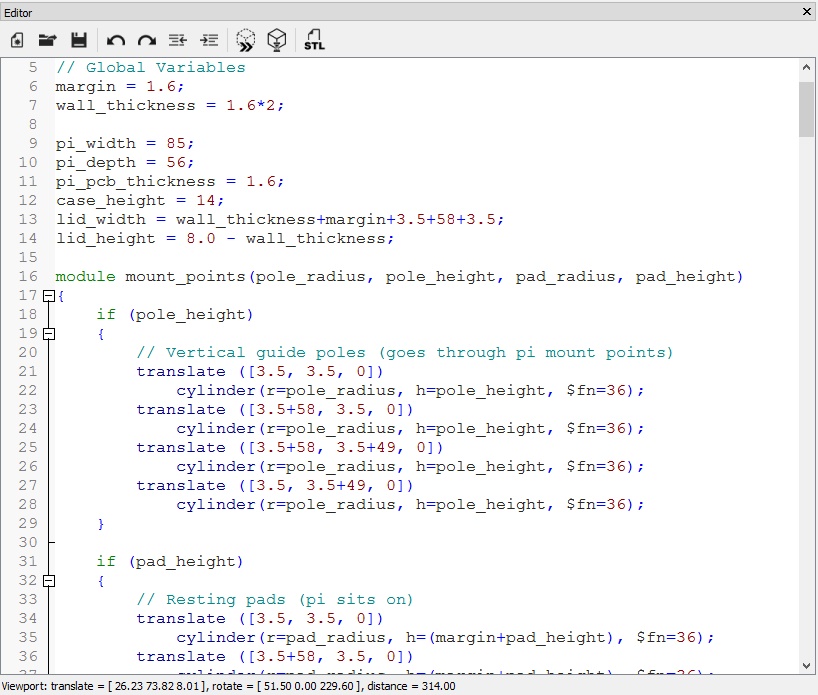
This was my first venture into 3D printing after joining Hitchin Hackspace. It was suggested that I use OpenSCAD which is basically programming/scripting rather than GUI based graphical 3D design. OpenSCAD works by adding and subtracting 3D primitives like cubes, cylinders, spheres to create more complex objects which can then be exported to STL files (amongst other formats). Before that I had experience with Google Sketchup (now Trimble Sketchup), but due to issues with the STL files it produces needing to be "fixed" before printing, I thought it best to try OpenSCAD.
After getting to know the basics of scripted cad, the benefits like parametric design shine through. Obviously there are negatives like ease of use, but the positives like it being free win over. The next thing that I had to take account of was the capabilities of the 3D printer I would be using to make my design. The main things I had to remember when designing where no unsupported overhangs steeper than 45degrees and no long "bridges" or overhangs.
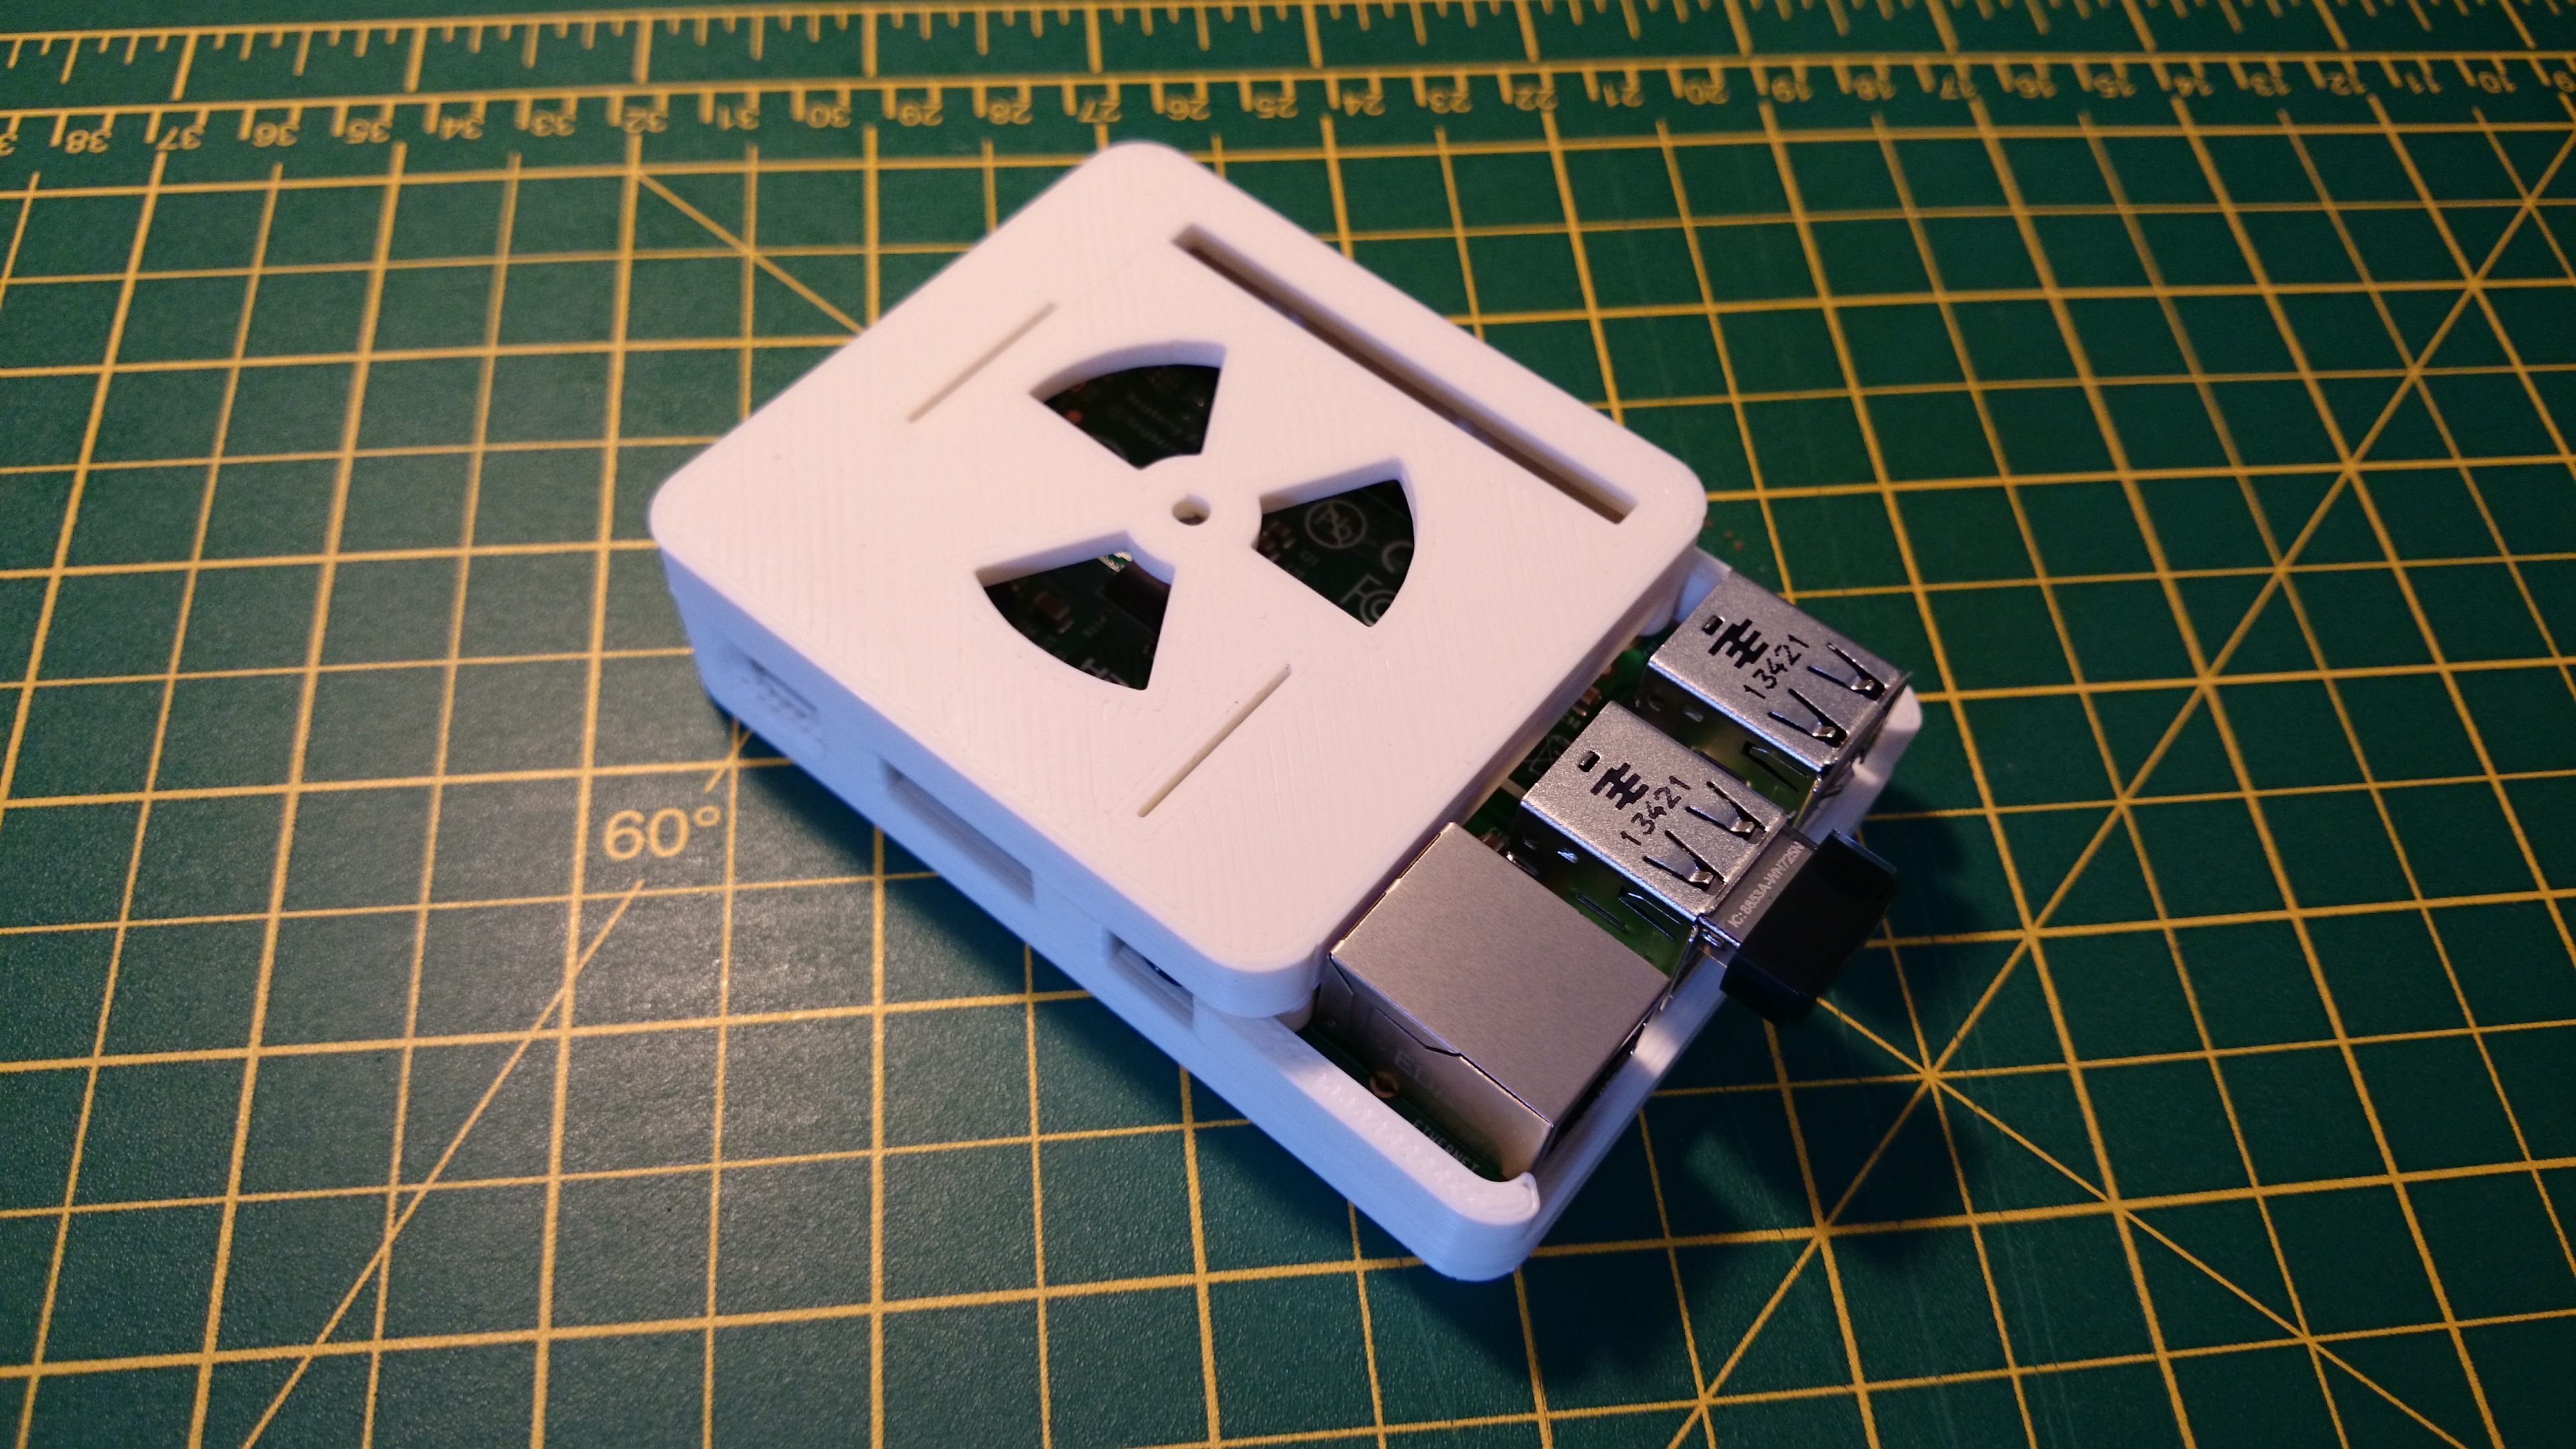
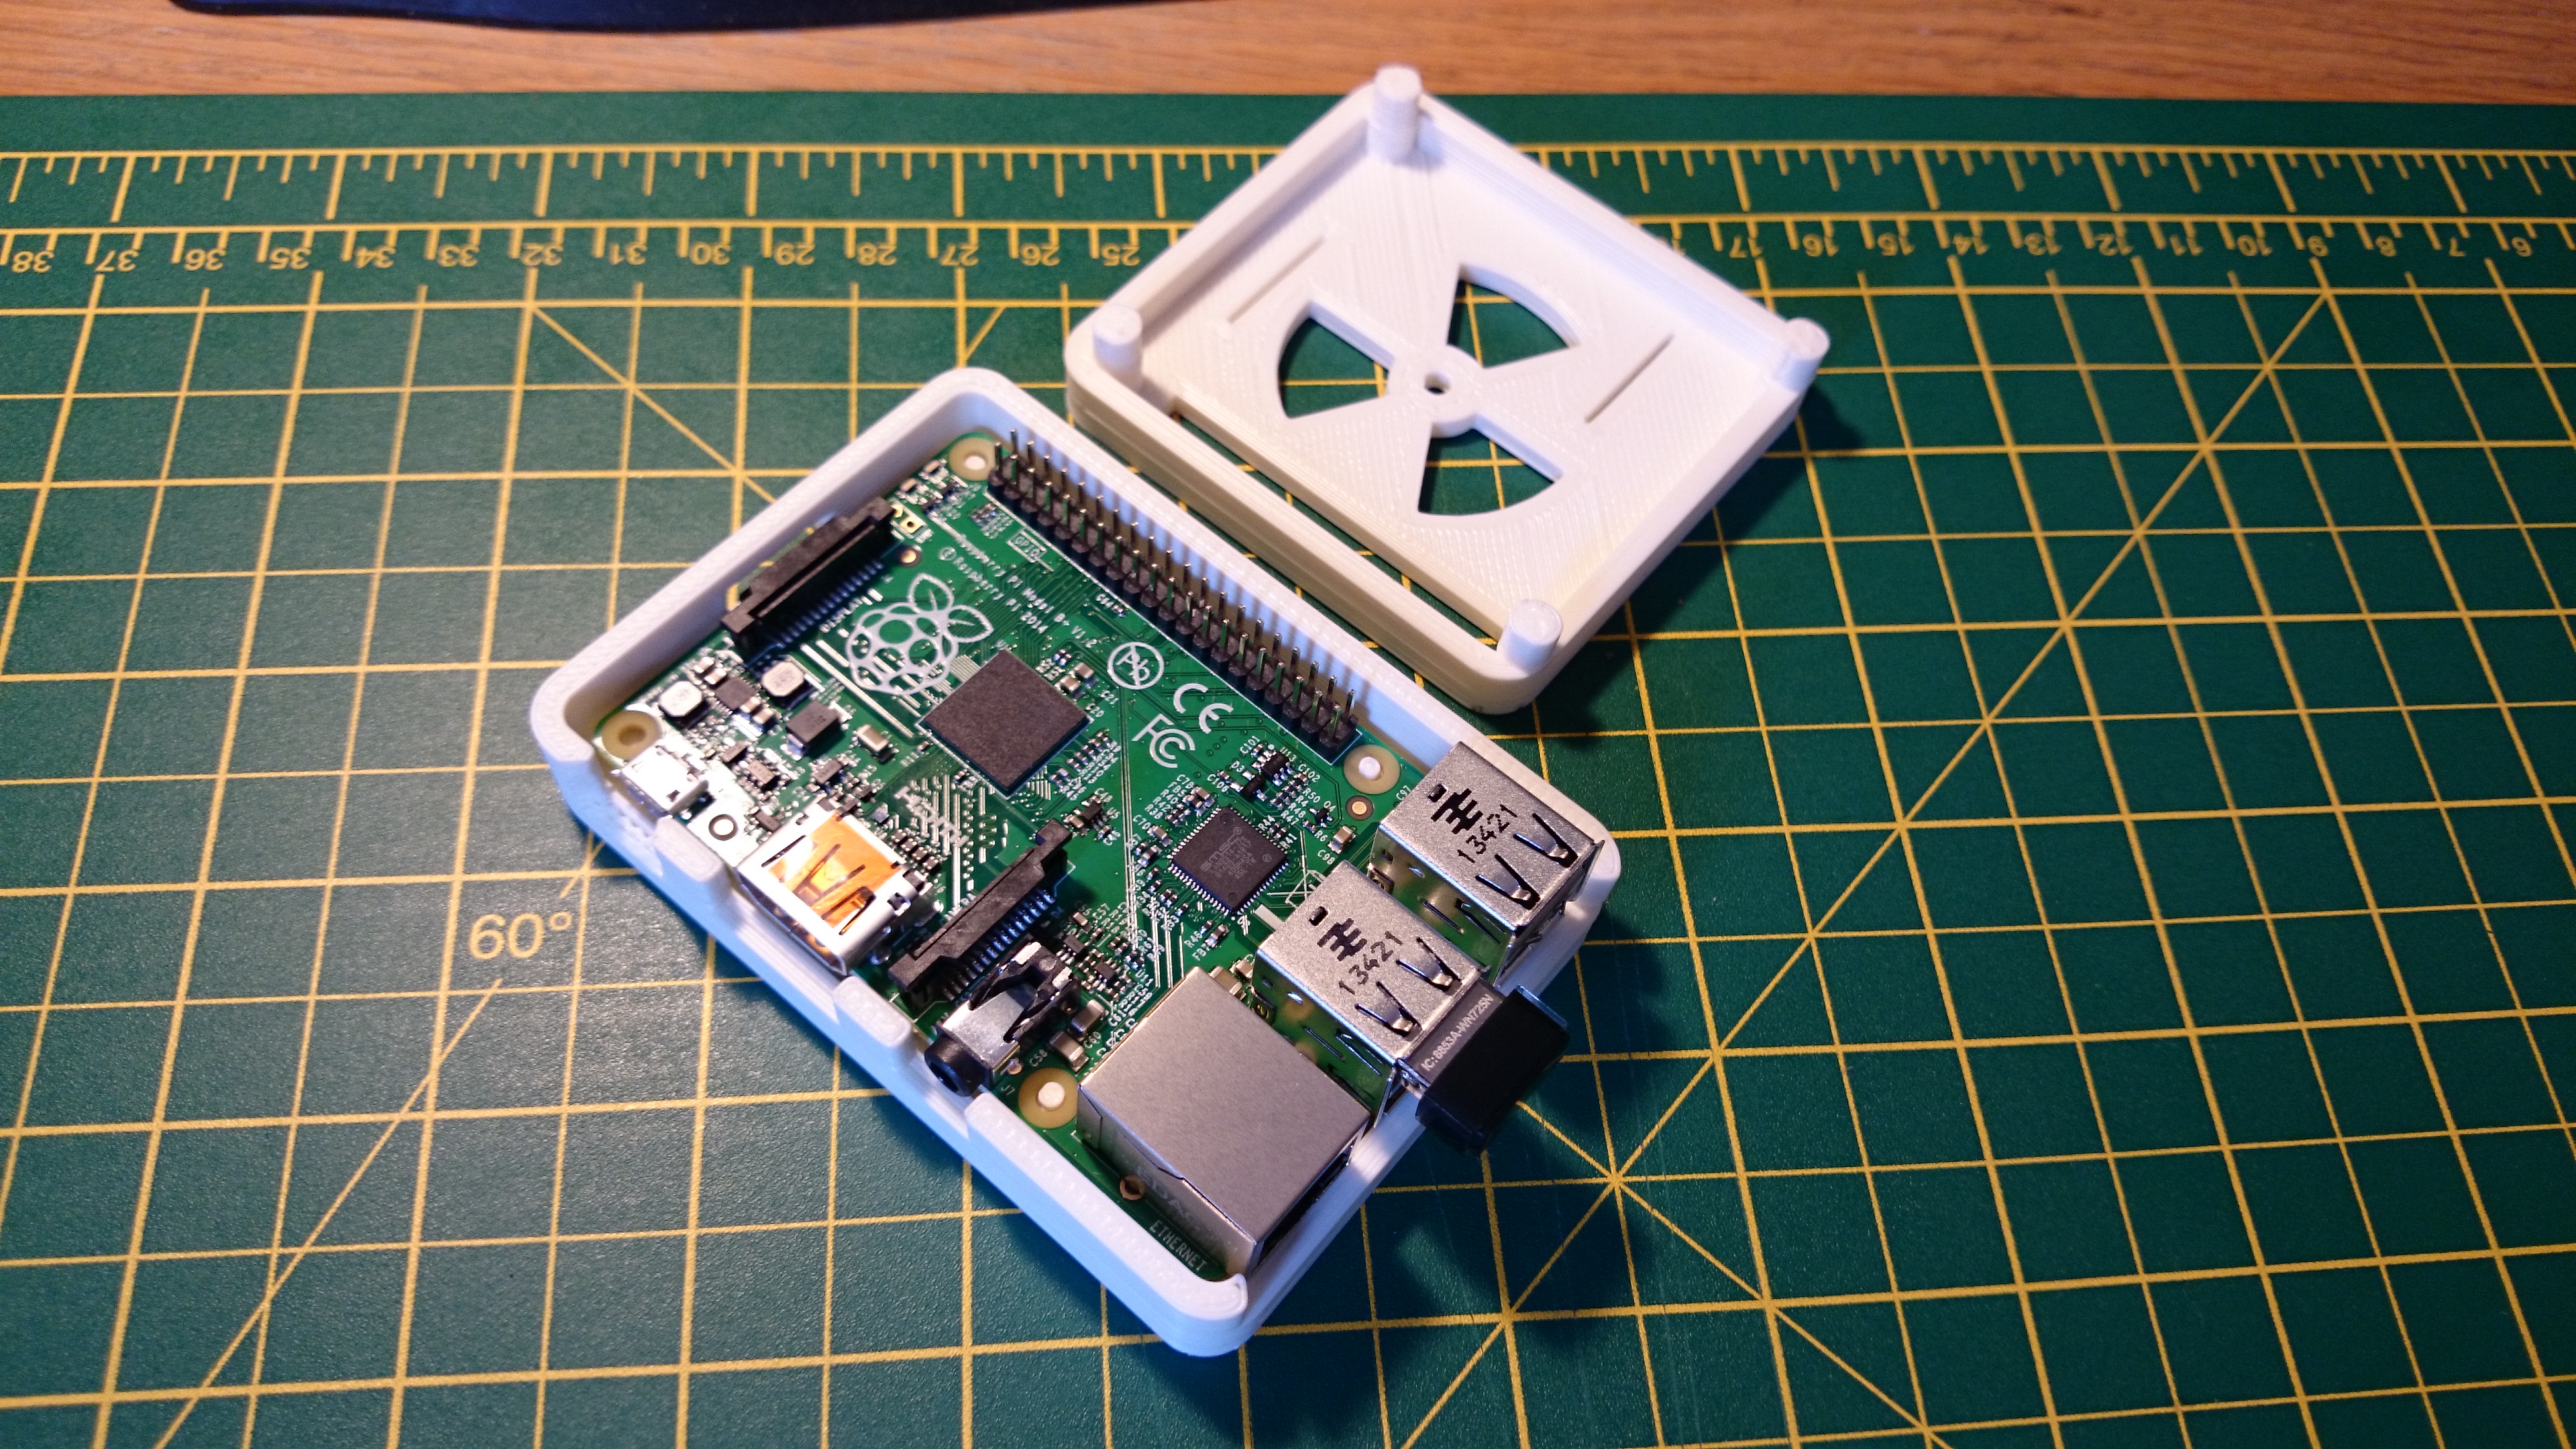
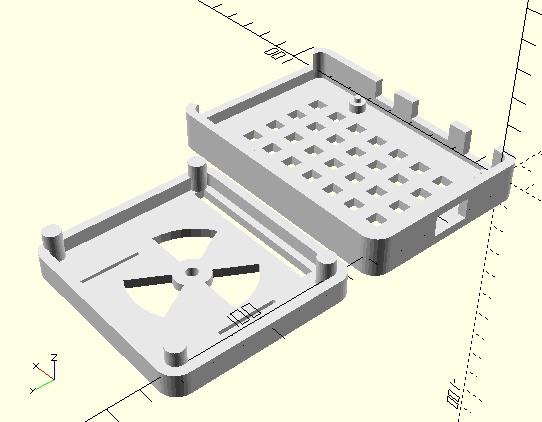
I wanted an easy opening design so went for a friction grip system with a base and lid. The base was designed around the dimensions of the Raspberry pi, complete with 2.5mm locating lugs for the PCB mounting holes. I added air vents on the underside to ensure the case didn't overheat. I didn't want the case to be too thick, so went for a shorter lid that would sit behind and level with the RJ45 and USB ports. As well as being a sleeker design, this improved printing time. To make the case "mine", I wanted a symbol on the lid cut out as a second air vent so obviously went for the radioactive symbol, as you do!